Plastering the Walls
With the ceiling getting the first coat last week, this weekend is the first coat for the four walls. Before starting on the walls, I do a quick pass over the woodwork to try and strip any remaining paint along the woodwork that butts up against the plaster. There’s still a lot of paint to strip, but it’s mostly paint that is in the window frame that is closer to the vinyl window and not against the plaster.
The stripping at this point is putting on a layer of chemical stripper, scrubbing the stripper with a scouring pad, picking out any chunks of paint with dental picks, and then cleaning everything up with washing down with alcohol or the AfterWash solution. After finishing the final wood stripping, I do a final pass of any Durabond touch-ups. I use a wet sponge to knock down any rough spots in the Durabond repairs.
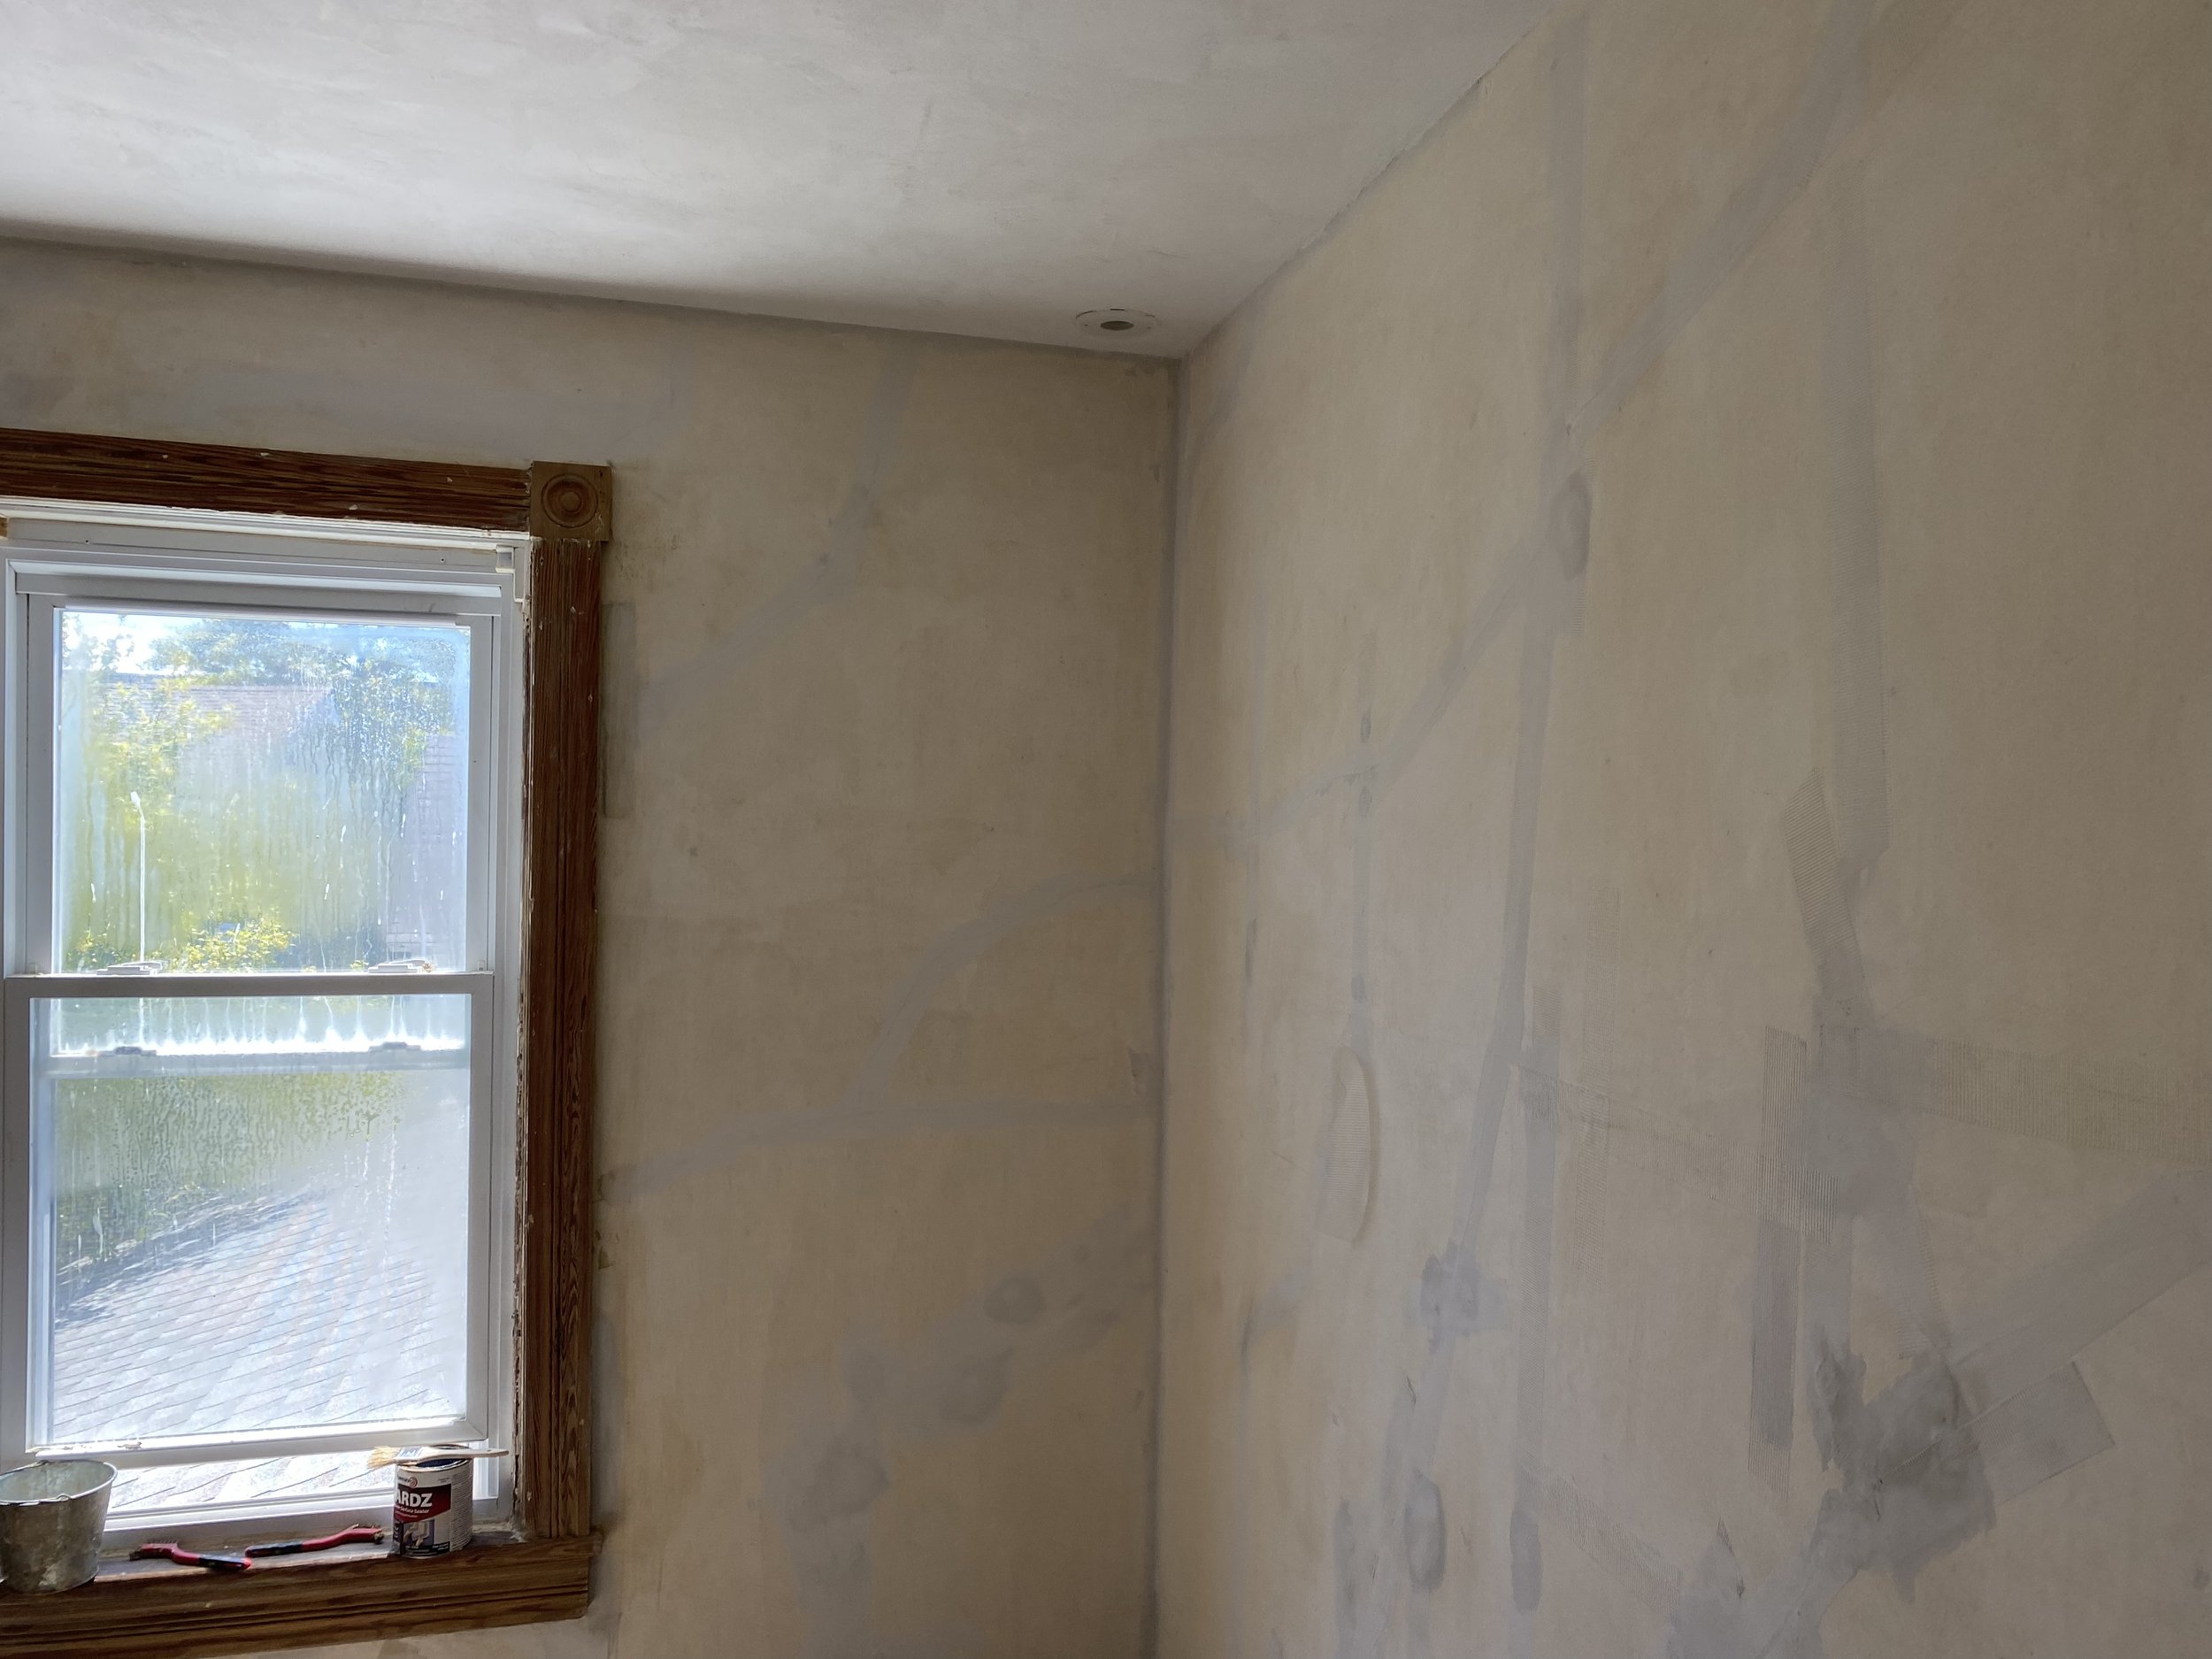
Final wipe down of walls and buffing down any rough Durabond edges.
All Durabond cleaned up and ready for plaster.
Applying the plaster to the walls is not as clumsy as the ceiling, but there are more walls to hit and more obstacles with the windows and doors. It takes me about five hours to do the entire room and I get pretty good coverage over the washers. For the corners I sometimes cheat and smooth things out with my fingers instead of the trowel. After everything is set, but not dried, I use a wet sponge to knock down any of the ridges or bumps from troweling.
Wall on the right has the first coat of plaster.
Plaster in action.
All plastered up.
Still can see some of the washers after one coat.
First coat of plaster done.


